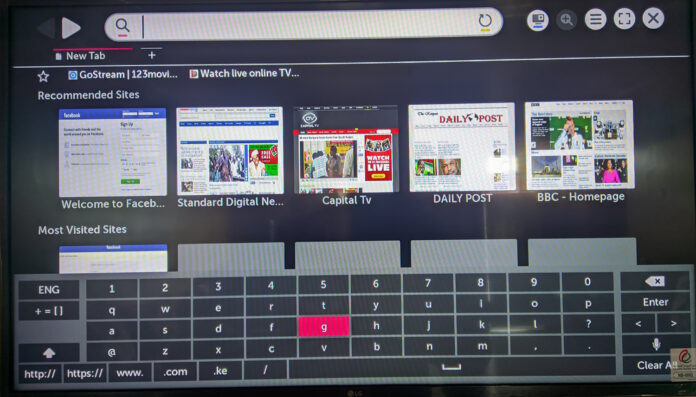
Have you ever found yourself in one of those awkward moments after buying a new gadget but just don’t know where to find those small but important settings? Well, I have. To be honest, there are a couple of things we ought to find out from the user manuals but most of us never get to read those small handbooks included in almost all electronic gadgets. This happened to me recently, after having my LG TV for quite some time, for some reason, I decided to use the built-in web browser which turned out to be quite an adventure I wasn’t prepared to take.
It all looked easy at first, I mean I had a smart TV at my pleasure and judging from LG’s WebOS reputation, everything I needed to do that could be done on a smart TV was possible. At least that’s what I thought until I needed to key in the web browser the address to view. There was literally no keyboard for me to tap the letters of the address I wanted to surf, so as anyone could’ve assumed, I decided to download LG’s ThinkQ remote on my phone but that turned out abysmal.
I couldn’t figure out how LG intended for someone to use the WebOS built in browser without a functional on-screen keyboard, although there was an option to connect a wireless keyboard but wasn’t ready to churn out cash just so I could buy a keyboard that probably wouldn’t need thereafter. After finding no solution from the LG TV app, I resorted to Google my way out, but didn’t really find a viable solution.
However, after doing several rounds here and there within the LG TV settings, I found a small toggle hidden within that comes disabled by default. And now here is how you enable the on-screen keyboard on an LG smart TV running WebOS.
Steps on how to enable on-screen keyboard on an LG smart TV running WebOS
- First, open the built-in web browser and tap on the address bar
- If the on-screen keyboard is enabled, you should see it, if not proceed with below steps
- Next on the browser address bar, tap on the “menu” icon
- And select “settings” from the options
- Next look for “Pop-up Blocker”, in my case the toggle came enabled by default
- Ensure the “Pop-up blocker” option is DISABLED, and that’s it.


Doesn’t work. Keyboard appears in the settings screen but not on the web browser. Useless.
I got keyboard up thank you
Holy cow, I need this!! I hope it works – TV is at my mother’s home. I’m sure it will. Thank you, again!
Didn’t work for me
Nope – my LG Smart TV doesn’t have a ‘pop-up’ toggle under settings 🙁